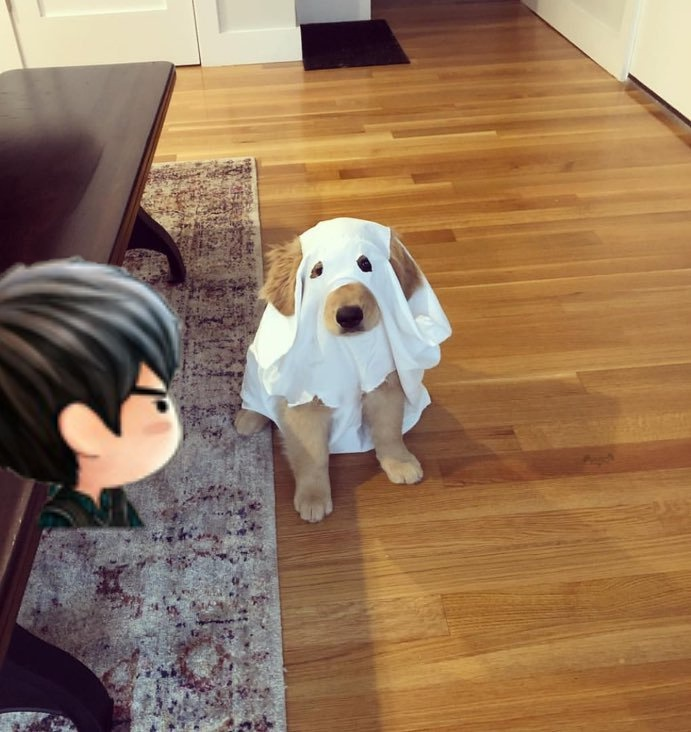
图像处理:
- 浅色背景转透明
- 透明背景贴图
# coding = UTF-8
'''opencv贴图(png透明背景贴图),可以用来添加透明组件和批量自定义图像水印、印章添加等,英文输入法下“s”保存图像'''
import cv2


# 定义贴图函数
def draw_mark(event, x, y, flags, param):
    # 读入贴图,cv2.imrad('src_path', -1)其中-1表示保留alpha透明通道
    sticker = cv2.imread(r'C:\Users\40101\Desktop\TEMP-PICS\favicon.png', -1)
    # 读入底图
    sample_image = cv2.imread(r'C:\Users\40101\Desktop\TEMP-PICS\16_n.png')
    # 对贴图进行缩放
    # sticker = cv2.resize(sticker, (40, 40))
    # 判断鼠标动作
    if event == cv2.EVENT_LBUTTONDOWN:
        # x, y的值为当前鼠标点击位置的坐标,并且设置以鼠标点击位置为填充sticker的中间位置
        x_offset = int(x - sticker.shape[1]*0.5)  # 贴图位置的左上角坐标:x,y
        y_offset = int(y - sticker.shape[0]*0.5)
        # 计算贴图位置,注意防止超出边界的情况
        x1, x2 = max(x_offset, 0), min(x_offset + sticker.shape[1], sample_image.shape[1])
        y1, y2 = max(y_offset, 0), min(y_offset + sticker.shape[0], sample_image.shape[0])
        sticker_x1 = max(0, -x_offset)
        sticker_x2 = sticker_x1 + x2 - x1
        sticker_y1 = max(0, -y_offset)
        sticker_y2 = sticker_y1 + y2 - y1
        # 贴图中透明部分的处理
        alpha_h = sticker[sticker_y1:sticker_y2, sticker_x1:sticker_x2, 3] / 255
        alpha = 1 - alpha_h
        # 按4个通道合并图片
        for channel in range(0, 3):
            sample_image[y1:y2, x1:x2, channel] = (alpha_h * sticker[sticker_y1:sticker_y2, sticker_x1:sticker_x2, channel] + alpha * sample_image[y1:y2, x1:x2, channel])
        cv2.imshow("sticker", sample_image)

        # 判断“s”是否按下
        if cv2.waitKey(0) & 0xFF == ord("s"):
            cv2.imwrite("sticker_covered.jpg", sample_image)
            print("image saved!")


if __name__ == '__main__':
    # 读入一开始显示的底图init_image,否则一开始显示灰色
    init_image = cv2.imread(r'C:\Users\40101\Desktop\TEMP-PICS\16_n.png')
    cv2.namedWindow("sticker")
    cv2.setMouseCallback("sticker", draw_mark)
    # 读入一开始显示的底图int_image,否则一开始显示灰色
    cv2.imshow("sticker", init_image)
    cv2.waitKey(0)
    cv2.destroyAllWindows()

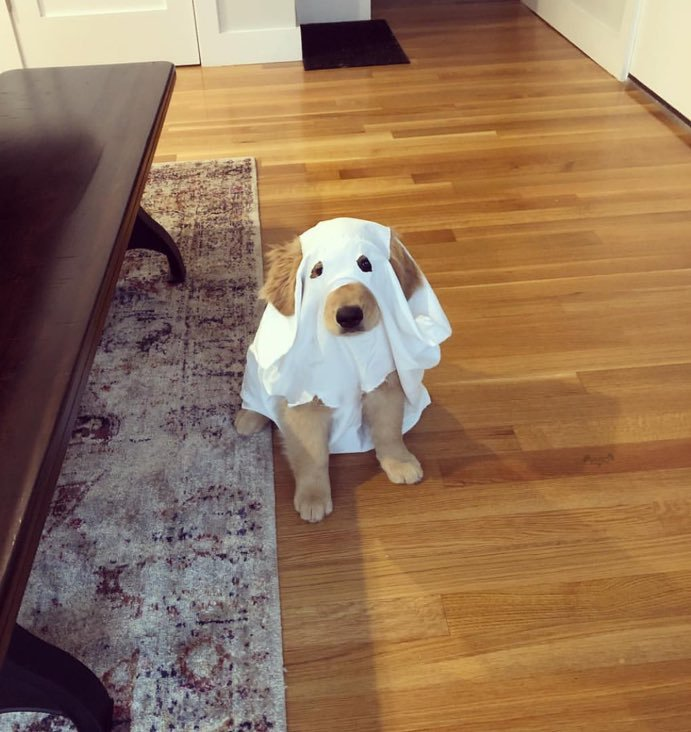
结果:
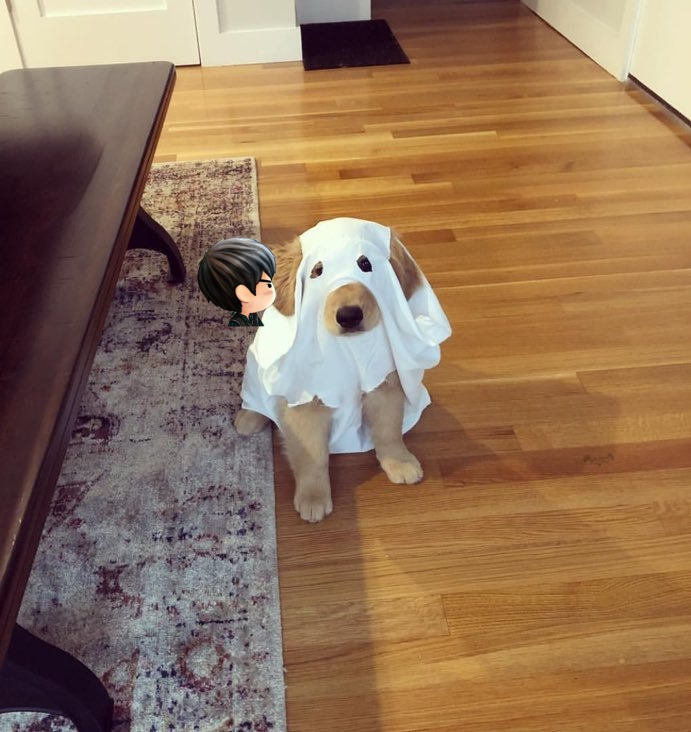
缩放sticker贴图、以及测试边界超出: